How Much Does Solar Add to Appraisal? Complete Guide
Interested in knowing how much does solar add to appraisal? Read on to know how solar panels affect home value, appraisals, resale prices, and buyer demand!
About 7 in 10 homebuyers now say energy efficiency matters when buying a house, according to recent housing market reports.
At the same time, electricity prices keep rising across the U.S., making solar more attractive than it was just a few years ago.
That shift has changed the way appraisers and buyers look at solar-powered homes.
Many homeowners installing solar today are not only thinking about lower utility bills, but also long-term property value.
Companies like propel solar have helped more homeowners compare solar options before making that investment decision.
If you have been wondering how much does solar add to appraisal, the answer depends on several factors, including ownership, system size, local energy costs, and how the appraiser values the system.
In many markets, solar can add real value to a property, but not every installation increases an appraisal the same way.
Why Can Solar Panels Raise Home Value?
Solar panels are often treated like other major home upgrades.
Buyers see them as a way to reduce monthly costs over time.
Lower electric bills can make a home more attractive, especially in areas with high energy rates.
A 2026 market review from Opendoor found that homes with solar panels typically sell for 3% to 4% more than similar homes without solar.
In some strong solar markets, the increase can be even higher.
Another widely referenced study from Lawrence Berkeley National Laboratory found that solar systems added around $3 to $4 per watt to home value.
That means a typical 6-kW system could add roughly $18,000 to $24,000 in value, depending on the market.
This is one reason why many homeowners searching how much does solar add to appraisal are surprised to learn that solar may recover a large portion of installation costs during resale.
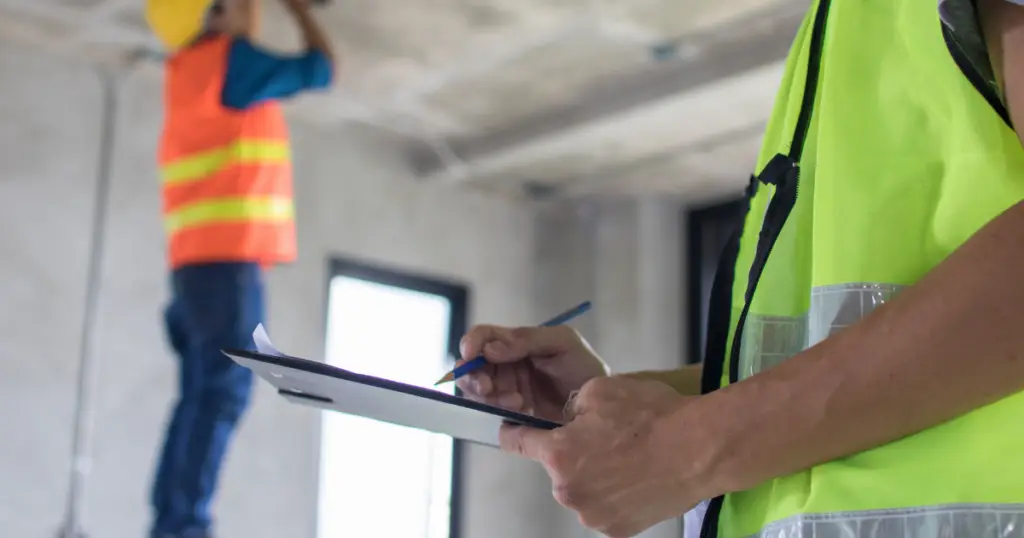
Appraisers Look at More Than Just Panels
An appraiser does not simply see solar panels and automatically increase the value.
They usually examine:
- Whether the system is owned or leased
- Age of the solar panels
- Warranty coverage
- Local electricity costs
- Average utility savings
- Condition of the roof
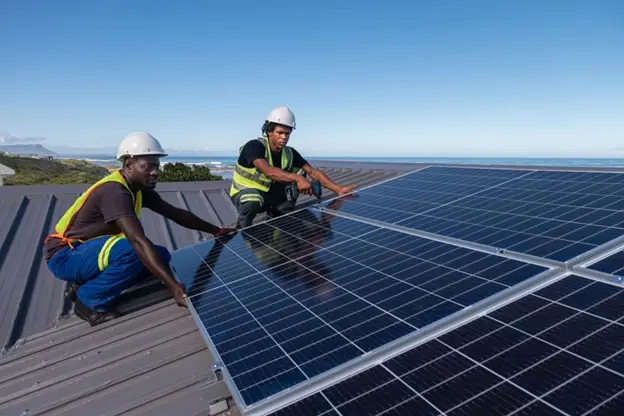
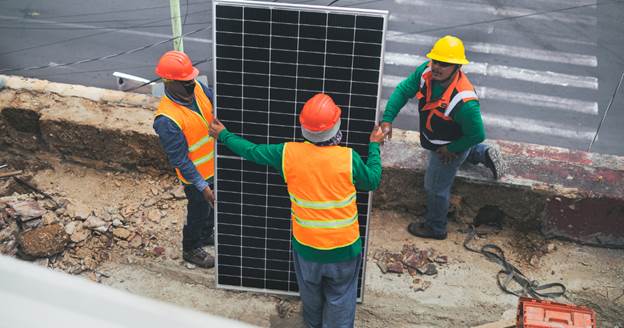
- Permits and installation quality
- Comparable homes with solar nearby
If proper documentation is missing, the appraiser may struggle to assign full value.
That is why homeowners should always keep:
- Installation contracts
- Warranty paperwork
- Energy production reports
- Utility savings records
- Permit approvals
These details help support the final appraisal.
Owned Solar vs Leased Solar
This is one of the biggest factors affecting appraisal value.
Owned Solar Systems
Owned systems usually increase home value the most because the buyer receives the system without taking over payments or contracts.
Recent studies show that homes with solar can sell for 4% to 7% more than comparable homes without solar.
Buyers also tend to feel more confident purchasing a fully owned system because they immediately benefit from lower energy costs.
When people search how much does solar add to appraisal, this is usually the type of solar setup that yields the strongest results.
Leased Solar Systems
Leased systems are different.
With leased solar, the homeowner does not actually own the equipment.
The buyer may need to assume the lease agreement, which can complicate a home sale.
Some buyers hesitate because they do not want:
- Another monthly payment
- Contract transfer paperwork
- Long lease commitments
Several housing studies show leased systems often add little or no appraisal value compared to owned systems.
In some cases, they may even slow down the sales process.
Location Matters More Than Many People Think
Solar value changes depending on where the home is located.
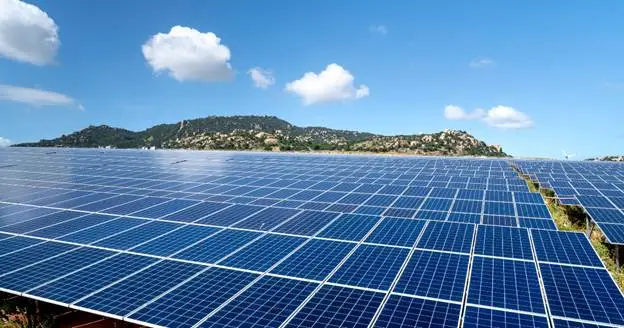
Homes in sunny areas with high electricity costs often see stronger appraisal increases.
Buyers in those regions understand the savings potential better.
For example:
- California
- Arizona
- Nevada
- Florida
- Texas
These markets usually show stronger solar premiums.
A 2025 SolarInsure housing analysis found some California solar homes sold for 5% to 10% more than nearby non-solar homes.
In states where electricity is cheaper, the added appraisal value may be smaller.
This explains why solar appraisal does not have one fixed dollar amount nationwide.
System Size and Energy Savings Matter
Bigger systems do not always mean bigger appraisal gains.
Appraisers often focus on whether the system matches the home’s energy use.
A properly sized system that significantly reduces electric bills usually performs better during appraisal than an oversized system producing unnecessary energy.
Homes with battery storage may also attract higher buyer interest because backup power is becoming more important during outages and severe weather.
Buyers Care About Monthly Savings
Many buyers now compare homes based on long-term ownership costs.
A house with lower monthly electric bills may feel more affordable even if the purchase price is slightly higher.
According to Zillow-related housing data, solar homes can also sell faster than non-solar homes in many markets.
That buyer demand helps support stronger appraisals.
Vital Reasons Solar May Not Add Much Value
Not every solar installation increases appraisal value.
Here are situations where value may be limited:
Poor Installation Quality
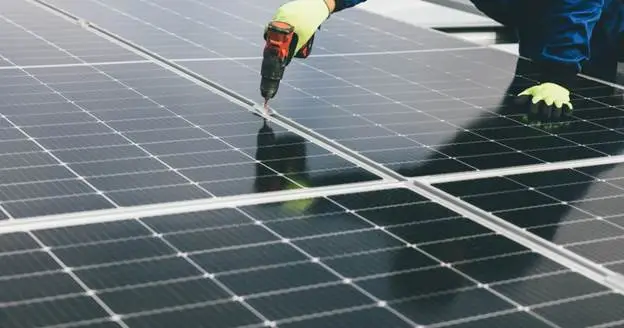
Bad wiring, roof damage, or unlicensed installation work can hurt buyer confidence.
Old Systems
Older panels with lower efficiency may no longer attract strong premiums.
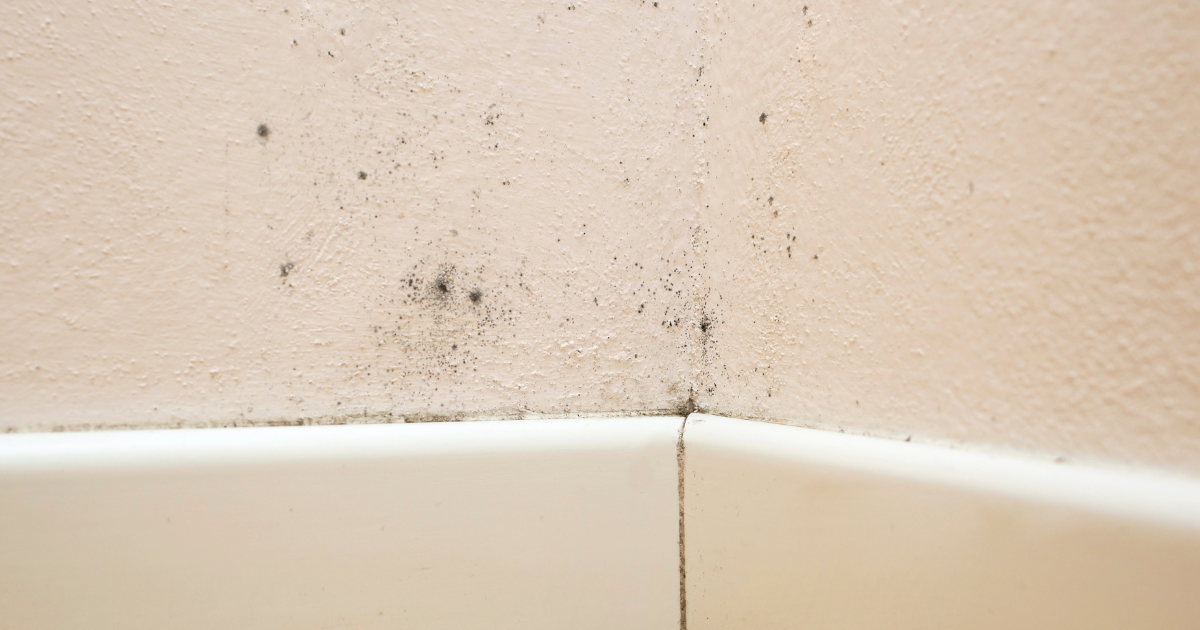
Roof Problems
If the roof needs to be replaced soon, buyers may see solar removal costs as an additional expense.
Missing Documents
Without proof of ownership and savings, appraisers may undervalue the system.
Few Comparable Solar Homes Nearby
Appraisers rely heavily on comparable sales.
In areas where solar adoption is still low, assigning extra value becomes harder.
This is another reason why the solar addition to an appraisal can vary widely between neighborhoods.
How Homeowners Can Maximize Solar Appraisal Value
For the best appraisal outcome, focus on preparation before listing the home.
1. Keep All Solar Records
Organized paperwork helps prove system quality and savings.
2. Pay Off Solar Loans if Possible
Owned systems generally create stronger buyer confidence.
3. Maintain the Roof
A healthy roof improves the value of the entire solar setup.
4. Show Energy Savings
Utility bill reductions help buyers clearly understand the financial benefit.
5. Work With Experienced Solar Advisors
Some homeowners work with solar advisors before installation to choose systems that balance efficiency, financing, and resale value properly.
Financing structure matters too.
Some buyers prefer systems purchased through options like concert finance solar because predictable financing can simplify ownership.
Expert Insight on Solar and Appraisals
The Appraisal Institute has issued guidance on valuing solar homes because solar has become a larger part of residential real estate.
Many appraisers now use specialized solar valuation methods instead of treating solar as a simple cosmetic upgrade.
Energy efficiency is increasingly becoming part of mainstream property valuation rather than a niche feature.
That trend has grown stronger as utility costs continue rising nationwide.
FAQ
These are commonly asked questions and their valid answers.
Does solar always increase appraisal value?
No.
Owned systems in strong solar markets usually perform best.
Leased systems or poorly installed systems may add little value.
How much value can solar add to a home?
Many studies estimate the increase at 3% to 7%, depending on the market, system quality, and ownership type.
Do appraisers include solar panels?
Yes, many appraisers now include owned solar systems during valuation when proper documentation is available.
Does battery storage increase value, too?
In some markets, yes.
Buyers increasingly value backup power and energy independence.
Conclusion
Solar has become more than just an energy upgrade.
For many homeowners, it is now part of long-term property value planning.
Recent market data shows that owned solar systems can increase resale value, attract buyers faster, and improve appraisal outcomes when installed correctly.
Still, the final number depends on several moving parts.
Ownership structure, location, roof condition, energy savings, and local buyer demand all play major roles.
If you are researching how much does solar add to appraisal, focus less on one exact number and more on the quality of the system and how well it fits your market.
A well-maintained, properly documented solar setup often gives homeowners the strongest return both in monthly savings and future resale value.