Do You Have to Clean an Airbnb Before You Leave?
Do you have to clean an Airbnb before you leave? Learn what guests are expected to clean, what hosts handle, and how to avoid extra charges.
Many guests assume that paying a cleaning fee means they can simply pack their bags and walk out the door.
Others believe they need to scrub the bathroom, wash every towel, and leave the rental looking spotless. The truth sits somewhere in the middle.
If you’ve ever wondered, do you have to clean an Airbnb before you leave, the answer depends on the host’s house rules and the condition you leave the property in.
While Airbnb cleaning fees usually cover professional cleaning between guests, that doesn’t necessarily mean you can leave a mess behind.
Whether you are staying for a weekend or a month, knowing what is expected can make checkout much smoother.
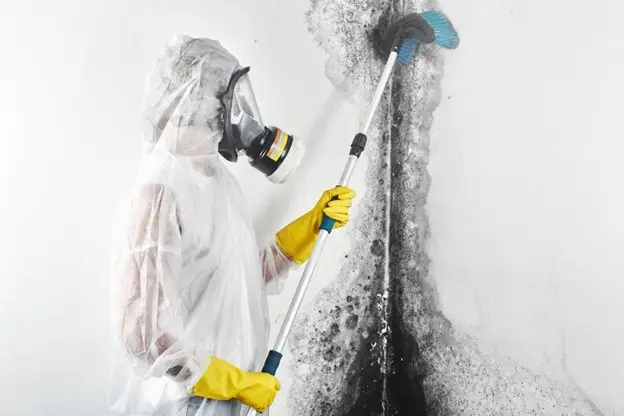
If you’re interested in how vacation rentals are cleaned between guests, this guide on vacation rental cleaning Los Angeles provides useful background on the professional cleaning process that many hosts rely on.
Do You Have to Clean an Airbnb Before You Leave?
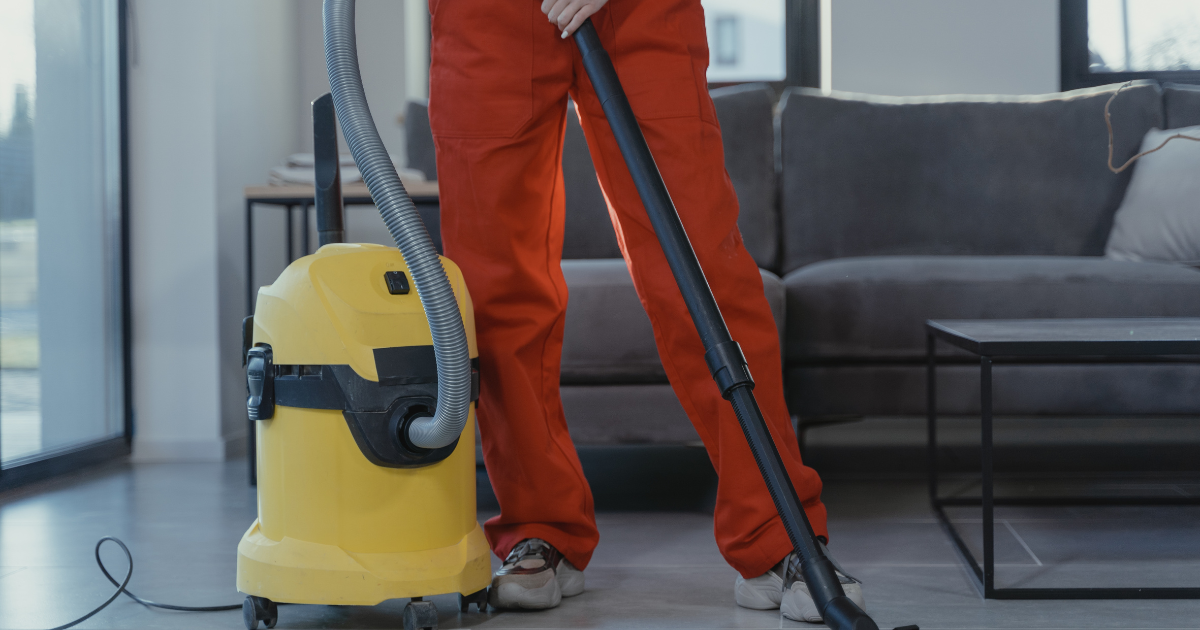
In most cases, yes, you should do some basic cleaning before leaving an Airbnb.
However, you are usually not expected to perform a full deep cleaning unless the host specifically requires it.
Most Airbnb hosts expect guests to leave the property in a reasonably tidy condition. Think of it the same way you would treat a friend’s home.
You would not leave trash everywhere, dirty dishes piled high, or food scattered across the kitchen.
Basic cleanup is generally considered good guest etiquette.
Why Airbnb Hosts Charge Cleaning Fees
One of the biggest reasons guests ask, “Do you have to clean an Airbnb before you leave?” is because they already paid a cleaning fee.
That fee usually covers professional services such as:
- Washing and replacing linens
- Cleaning bathrooms
- Mopping and vacuuming floors
- Sanitizing kitchens
- Dusting furniture
- Preparing the property for the next guest
According to Airbnb’s official help resources, cleaning fees are set by hosts and intended to cover the cost of cleaning the property between stays.
The fee is not usually intended to cover excessive messes, damage, or unusual cleanup requirements.
What Guests Are Normally Expected to Do
Most hosts appreciate guests completing a few simple tasks before checkout.
Common expectations include:
Throw Away Trash
Place garbage in the designated bins or disposal area.
Leaving bags of trash around the property can attract insects and create odors.
Wash or Load Dishes
Some hosts ask guests to wash dishes completely.
Others only request that dishes be placed in the dishwasher and started before departure.
Always check the checkout instructions.
Remove Leftover Food
Clear out items from the refrigerator and pantry unless the host specifically allows food to remain.
Wipe Up Major Spills
If you spill coffee, juice, or food, clean it up as soon as possible.
This helps prevent stains and damage.
Lock Doors and Turn Off Electronics
While not technically cleaning, many hosts include this in checkout responsibilities.
What Guests Are Usually Not Expected to Do
Professional cleaners generally handle the more detailed work.
You are rarely expected to:
- Deep clean bathrooms
- Scrub showers or toilets
- Mop every floor
- Wash bed sheets
- Launder towels
- Dust furniture
- Clean windows
- Steam clean carpets
Unless these requirements are clearly listed before booking, most guests would consider such requests excessive.
Always Check the House Rules
The most important answer to “do you have to clean an Airbnb before you leave” is found in the listing itself.
Every Airbnb property has different expectations.
Before your stay ends:
- Open the Airbnb app.
- Review the house rules.
- Look for checkout instructions.
- Follow any listed cleaning requests.
Airbnb encourages hosts to communicate expectations clearly before guests arrive.
If the instructions seem unreasonable or differ significantly from what was disclosed before booking, you can contact Airbnb support for guidance.
Can a Host Charge You Extra for Not Cleaning?
Yes, in certain situations.
A host may request additional compensation if you leave the property in unusually poor condition.
Examples include:
- Excessive garbage throughout the home
- Large food spills left unattended
- Stained furniture due to negligence
- Heavy messes requiring extra cleaning time
- Pet-related messes that violate house rules
Airbnb allows hosts to request reimbursement for certain damages or excessive cleaning costs, provided they are supported by evidence.
This is different from normal cleaning covered by the standard cleaning fee.
How Clean Should You Leave an Airbnb?

A good rule is to leave the property in roughly the same condition you found it.
You do not need perfection.
You simply need to show respect for the space.
Think about these questions:
- Did you pick up your trash?
- Did you clean obvious spills?
- Did you follow checkout instructions?
- Did you avoid leaving unusual messes?
If the answer is yes, you have likely met reasonable expectations.
Common Checkout Requests From Airbnb Hosts
You may see requests such as:
| Task | Common? |
| Take out trash | Yes |
| Start dishwasher | Yes |
| Lock doors | Yes |
| Turn off lights | Yes |
| Strip beds | Sometimes |
| Start laundry | Sometimes |
| Deep clean bathrooms | Rare |
| Vacuum entire home | Rare |
Not every host asks for these tasks, but they are among the most common checkout requests.
What Happens If You Ignore Checkout Instructions?
Ignoring reasonable instructions can lead to:
- Lower guest ratings
- Negative reviews
- Potential cleaning fee disputes
- Difficulty booking with some hosts in the future
Many experienced Airbnb guests understand that spending a few minutes tidying up can help avoid these problems.
Tips for a Stress-Free Airbnb Checkout
Here are a few practical habits that make checkout easier:
Clean As You Go
Instead of leaving everything until the last day, tidy up throughout your stay.
Read Instructions Early
Review checkout requirements the day before departure.
Leave Extra Time
Give yourself 10 to 15 minutes before checkout to complete any requested tasks.
Communicate With the Host
If something unexpected happens during your stay, let the host know immediately.
Most hosts appreciate honesty and communication.
Treat the Property Respectfully
The best approach is to treat the Airbnb the same way you would want someone to treat your own home.
Conclusion
So, do you have to clean an Airbnb before you leave? Generally, yes, but only to a reasonable extent.
Most hosts do not expect you to deep clean the property. They simply want guests to dispose of trash, clean up obvious messes, and follow any checkout instructions provided before departure.
The cleaning fee covers the professional work needed to prepare the property for the next guest.
Your responsibility is to leave the space respectful, tidy, and free from unnecessary mess.
When in doubt, review the house rules before checkout. A few minutes of cleanup can help you avoid extra fees, earn positive reviews, and leave on good terms with your host.